Better Silk Dye Color With Soy Wax Resist
By Mary G. Holland
March 6, 2015
I’ve started playing around with the so-called water-soluble soy wax resists. I haven’t been completely satisfied with the weak, pale dye color results from my first experiments. But I am intrigued by the possibilities, and confident I can improve my method to achieve a deeper dye color. Here are my experiences so far and what I’m going to try next.
Background
Soy wax has several major advantages over paraffin or beeswax used in traditional batik methods. It is called water soluble because unlike the older waxes, it melts at a much lower temperature of 110 to 140 degrees, hot tap water range, so there’s less chance of burn accidents. It breaks down easily with soap and other alkalis, making it much easier to remove from the fabric by simply washing in a hot sink with dish soap or Woolite. It’s a softer wax, meaning it won’t crack as easily and allow dye to penetrate masked areas. It is natural, non toxic, used in natural cosmetics, and is biodegradable, making it more appealing to frequent users like fiber artists and candle makers.
First Experiments

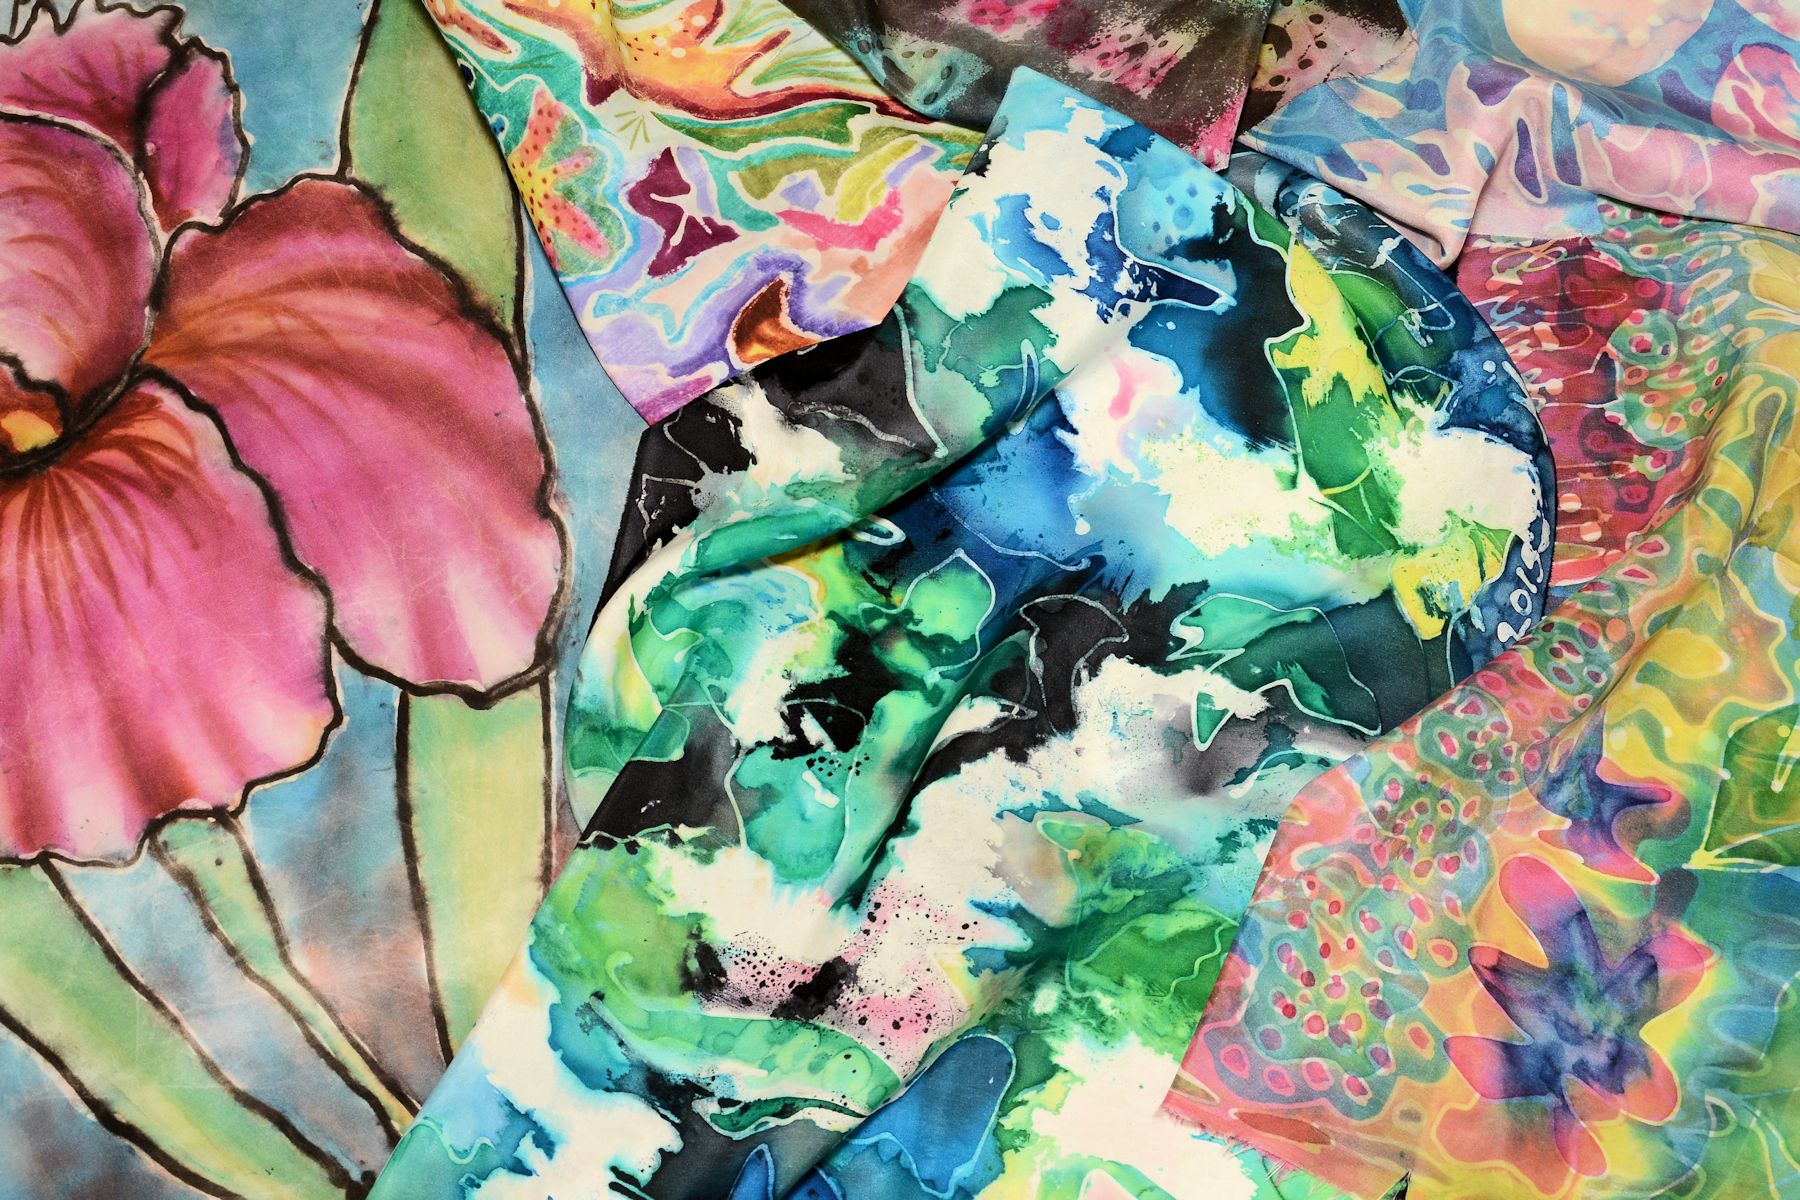
 My first experiments (left) produced nice colors but were paler than expected. Despite using Sennelier Tin Fix dyes, specifically for their color depth, the colors are thin. On the first, I did dilute the dyes to paint in the first layer of color, but the overlay blue color was full intensity, so it should have been darker.
To give you an idea of my expectations, at the right 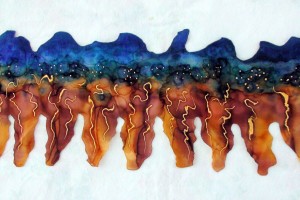 is a sample I made last fall using the same fabric and dyes painted directly without wax resist, for a Stevie Nicks shawl competition on TalentHouse.com. The deepest blues in both samples used the blue dye at full strength. Since this blue is one of the easiest colors to get to set in silk, theoretically they should match. Also, the deep rust orange I got in this blue-copper sample should match the oranges at the right and left edges of the second sample. Although the camera lighting is different, the tones are pretty accurate.
Methods Used
So what went wrong? I suspect it was my technique, not the dyes. Let’s see how the methods differed:
The blue/copper sample for the Stevie Nicks shawl competition:
1. Machine embroidered the leafy edges on the silk, free-hand zig-zag, with silk thread.
2. Stretched the uncut silk on a stretcher.
3. Painted with the salt-alcohol method, allowing colors to bleed, diluting with water or alcohol, moving color around with salt. Used Sennelier tin fix dyes. Let it dry and sit a couple days.
4. Steam-set in a vinegar bath for around two hours.
5. Added accents of Pearl-Ex metallic gold and copper pigments suspended in Textile medium, let dry.
6. Washed, pressed. Trimmed the leafy edges.
The two soy-wax samples at the top:
1. Ironed to freezer paper to stabilize the silk.
2. Drew designs using a tjanting and soy wax.
3. Painted with the same tin fix dyes, water-diluting the blue in the left sample to about 15% and the red to 30%, yellow 50% (planning to start with lighter colors, and add darker colors in other layers.)
4. Soaked dried sample in Jacquard chemical dye set solution in a dishpan for about 5-10 minutes (I’ve found you don’t have to make the solution anywhere near as strong as they say, for it to work well enough to deter the silk from bleeding during stove top dye set. In this case, almost no dye came out in the solution.)
5. Where the wax was thick, I chipped/scraped off the excess first.
6. Rinsed, then simmered in vinegar water on top of the stove to remove the soy wax and finish setting the initial dye. A bit of the dye came out in the water but not much. The wax came out, so it seemed. I stirred up the water quickly before quickly lifting out the sample, so it picked up little from the surface.
7. Rinsed the sample out in hot water, pressed between tissue, then adhered to new freezer paper.
8. In one sample, I painted large five petal flowers in soy wax with a sponge brush; on the other, I overlaid a second, offset but similar design with the tjanting.
9. Dyed the new areas around the wax with full strength, undiluted dyes.
10. Ran through steps 4-6 above again.
11. Washed the sample with dish detergent in hot water. Saw a bunch of dye coming out this time with the wax. Rinsed, pressed.
The main difference in these techniques was that I used soy wax in the top two samples, batik-style, but steam-set between layers of color and wax. In the Stevie Nicks sample, I simply used a salt-alcohol technique to paint the dye, without any wax. In both cases the samples were steam-set.
Possible Causes
1. Water weakened the dye. I didn’t use the special diluting solvent for the Tin Fix dyes, because I was working in a closed space with minimal ventilation, and I was concerned about the solvent dissolving the soy wax lines. I don’t think this was the problem because I have diluted these with water successfully in the past, and I wanted a more faded color in the beginning; besides, the second layer of dye was full strength, yet it didn’t take..
2. There was some plastic from the freezer paper which soaked into the silk and prevented the dye from taking. I used a fairly hot iron so it’s possible. I doubt this though because videos online by other silk painters show nice deep colors, and they also used a hotter iron than I used to fix the silk.
3. I didn’t get all the soy wax removed between the layers of wax and color. This meant the dye could not properly penetrate the silk and chemically bind to it.
4. The dyes are too old. This is possible, but not likely I think, since I did the batik experiment only 3-4 months after the Stevie Nicks sample experiment.
I suspect the biggest problem is #3 above. I was amazed at how much dye, seemingly mixed with wax in solution, washed out of the silk after steam setting. I’ve also seen videos on YouTube where the silk artists use freezer paper and the color turns out fine.
Possible Solutions
Here are some experiments I will try to improve the color depth:
1. Sidestep the problem: Use the old fashioned batik method of starting with lighter colors, and layering on more dye and wax, without removing the wax between layers. To try to achieve similar results as in the Stevie Nicks sample, use the same dye painting method, just adding wax overlays.
2. Wash the wax completely out between layers: If I do want to remove all the wax between layers of dye and wax, then ensure the dye is really well set by steaming and chemical dye set. Then wash out the piece in hot water and dish soap or Woolite; acid rinse in citric acid or vinegar to restore the silk pH. Then proceed with the next layer.
3. Pre-treat the silk with a natural dye enhancer and sizing agent: paint on raw soy milk using John Marshall’s method. Let it dry then apply soy wax, then paint or stamp the dye. This supposedly intensifies the color, although it may not work unless the silk is let cure for days to months after steam setting, before washing and finishing. Also, this method adds sizing to the silk, so the dye tends not to bleed into the fabric as much – so this property must be accounted for in the silk painting method used.
4. Add soy milk to the dyes themselves: Add soy milk to the dyes and use them right away so they don’t spoil. This adds the dye set and curing agent to the dye itself, but presumably the dye will bleed better if that’s desired during painting, as long as the silk is not pre-sized with soy milk. The dyes have to be thrown out after use, else they spoil. Also, to take advantage of the soy dye enhancing quality, the silk must be cured by letting it sit for a few days, either before or after steam setting, before it can be washed and used.
I’m going to try #1 and #2 above next and see how that comes out. Stay tuned.
If you’ve played with these materials, your insights are most welcome.

